Drag to rotate · Scroll to zoom · Right-click to pan
1 / 10
⬡ZeldasSpi…
⬡ZeldasSpi…
⬡ZeldasSpi…
⬡ZeldasSpi…
⬡ZeldasSpi…
⬡ZeldasSpi…
⬡ZeldasSpi…
⬡ZeldasSpi…
⬡ZeldasSpi…
⬡ZeldasSpi…
Description
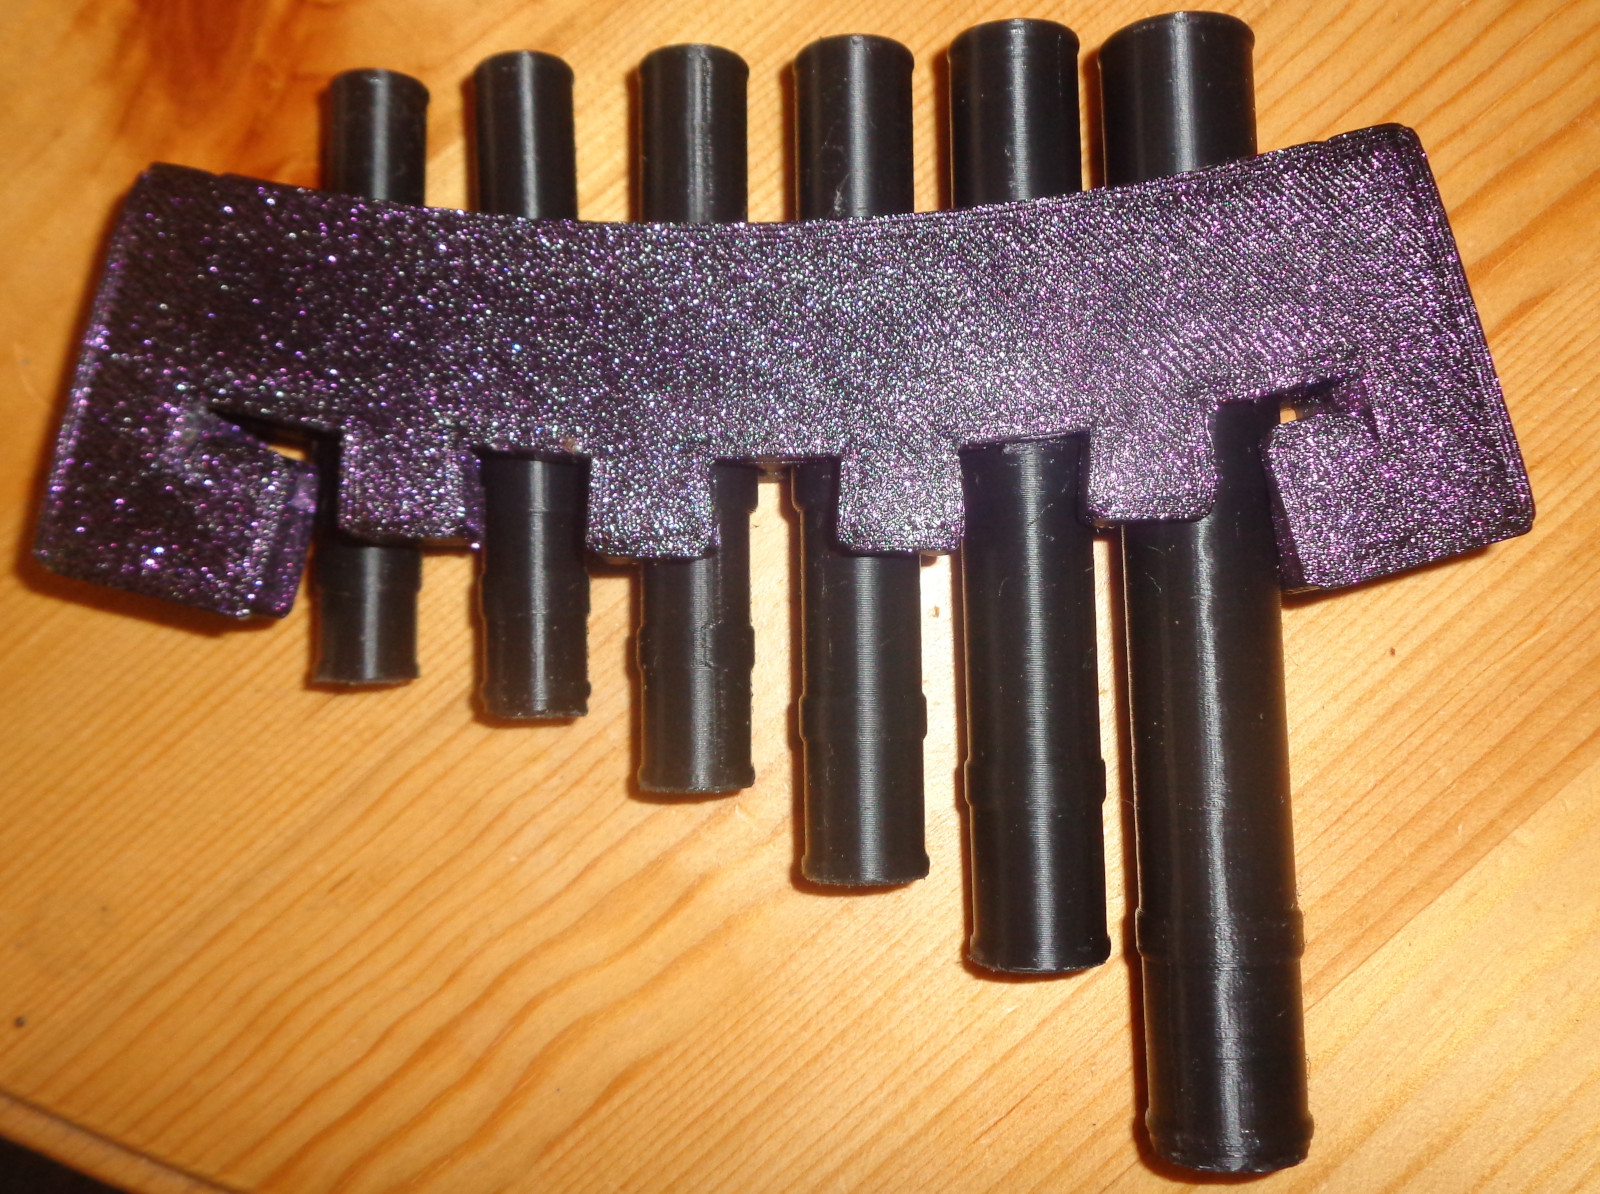
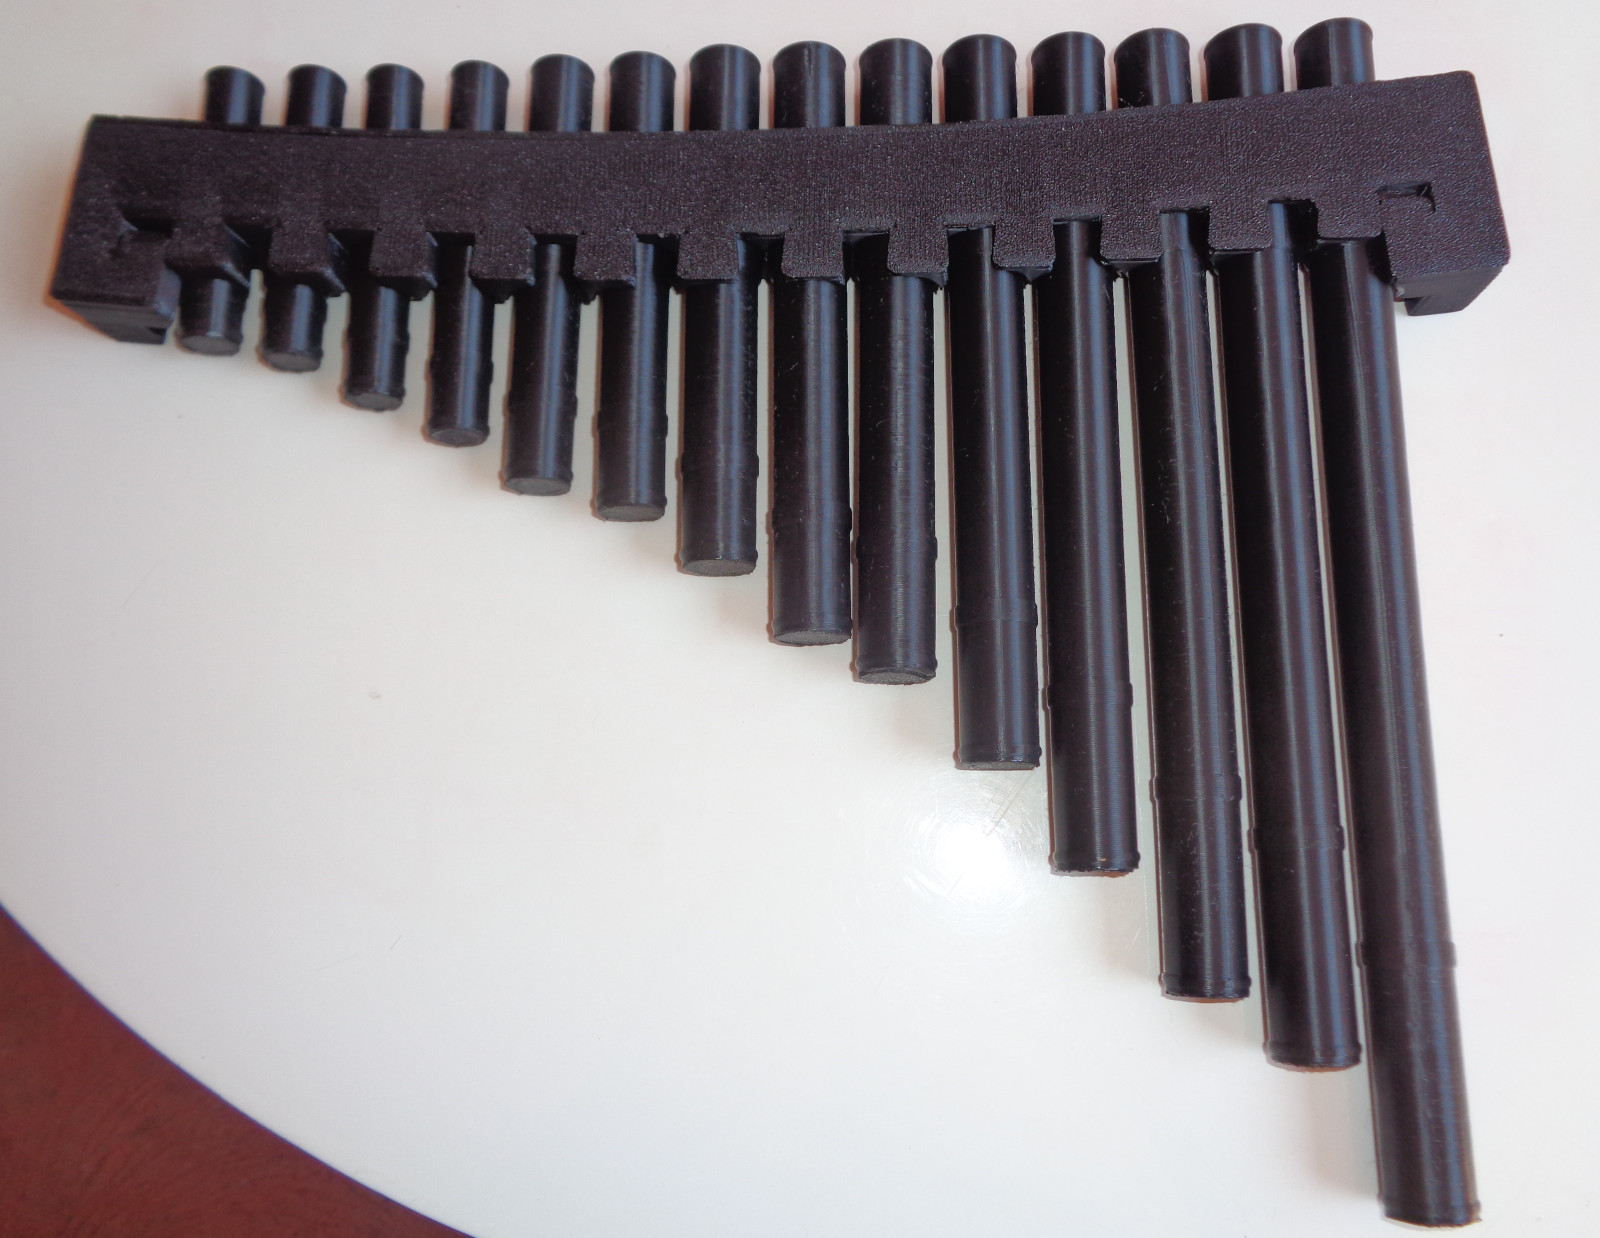
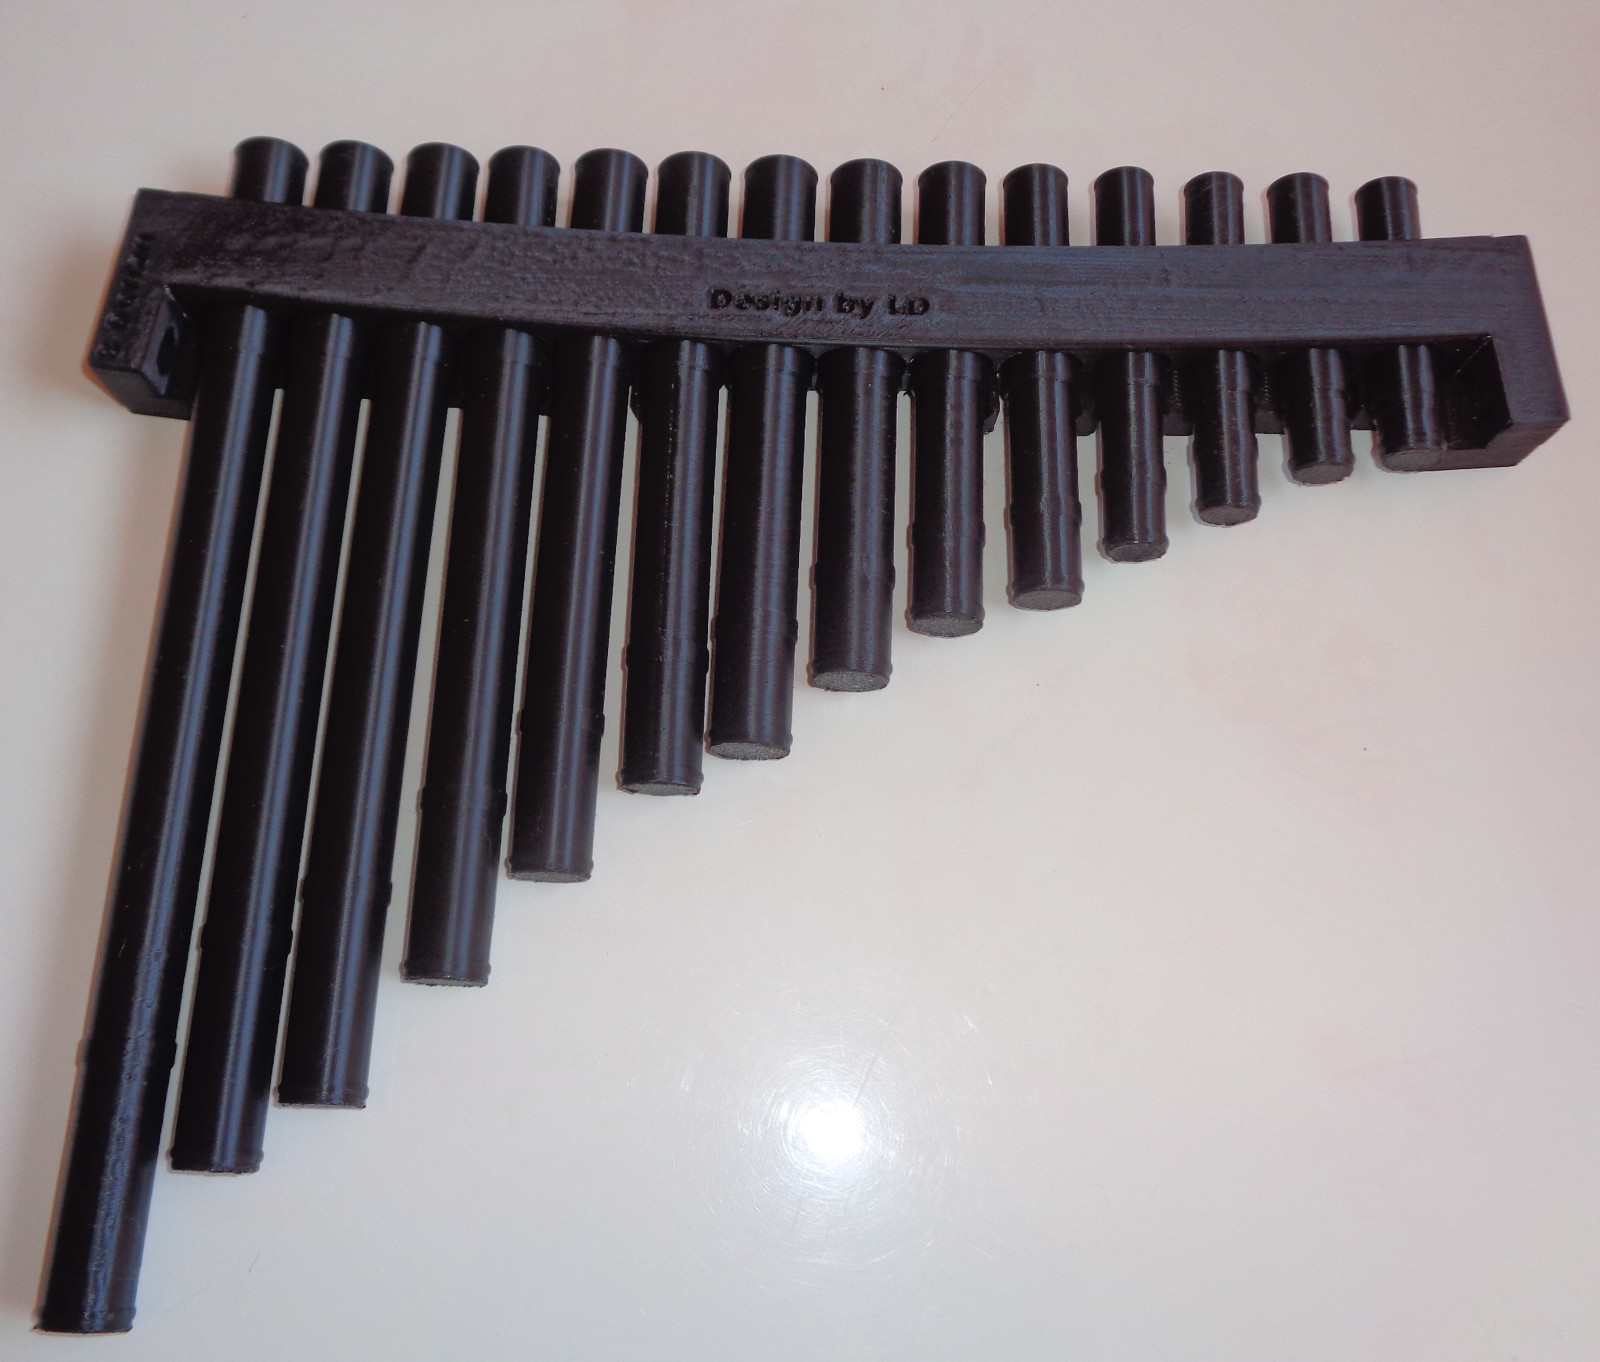
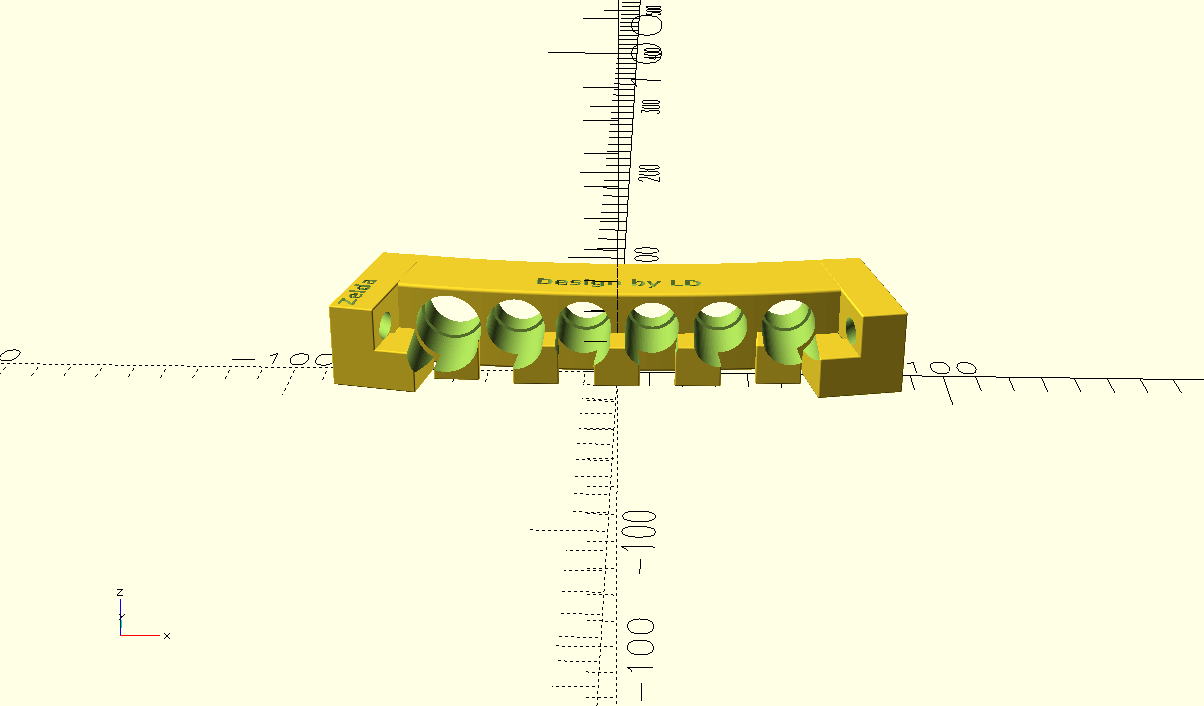
This is the instrument given to Link by Princess Zelda in the Nintendo DS game [Spirit Tracks](https://en.wikipedia.org/wiki/The_Legend_of_Zelda:_Spirit_Tracks). I made this as both a demo for [pythonscad](https://pythonscad.org) and a demo to take to potential employers. It's a CAD model with as much detail as the non functional mesh models people make with Blender etc for cosplaying. It's apparently unique in that I've applied object oriented programming techniques to CAD. My model is a computer program written in a comparatively easy general purpose language (python), that builds a simple pan flute that's a real musical instrument with sensibly sized and spaced pipes aligned along the edge nearest the player's lips. With practice it should be possible to become good at playing it, however pan flutes are known for being hard to play.
update: the original was made with the pipe order reversed compared to the game, this is how westerners expect instruments like this to work. If you want a version with the pipes ordered right to left there's now another Cog STL for left handers. There's no change to the pipes of course.
You tell the model what notes you want and it calculates all the dimensions of everything and builds the geometry ready for you to export as STLs.
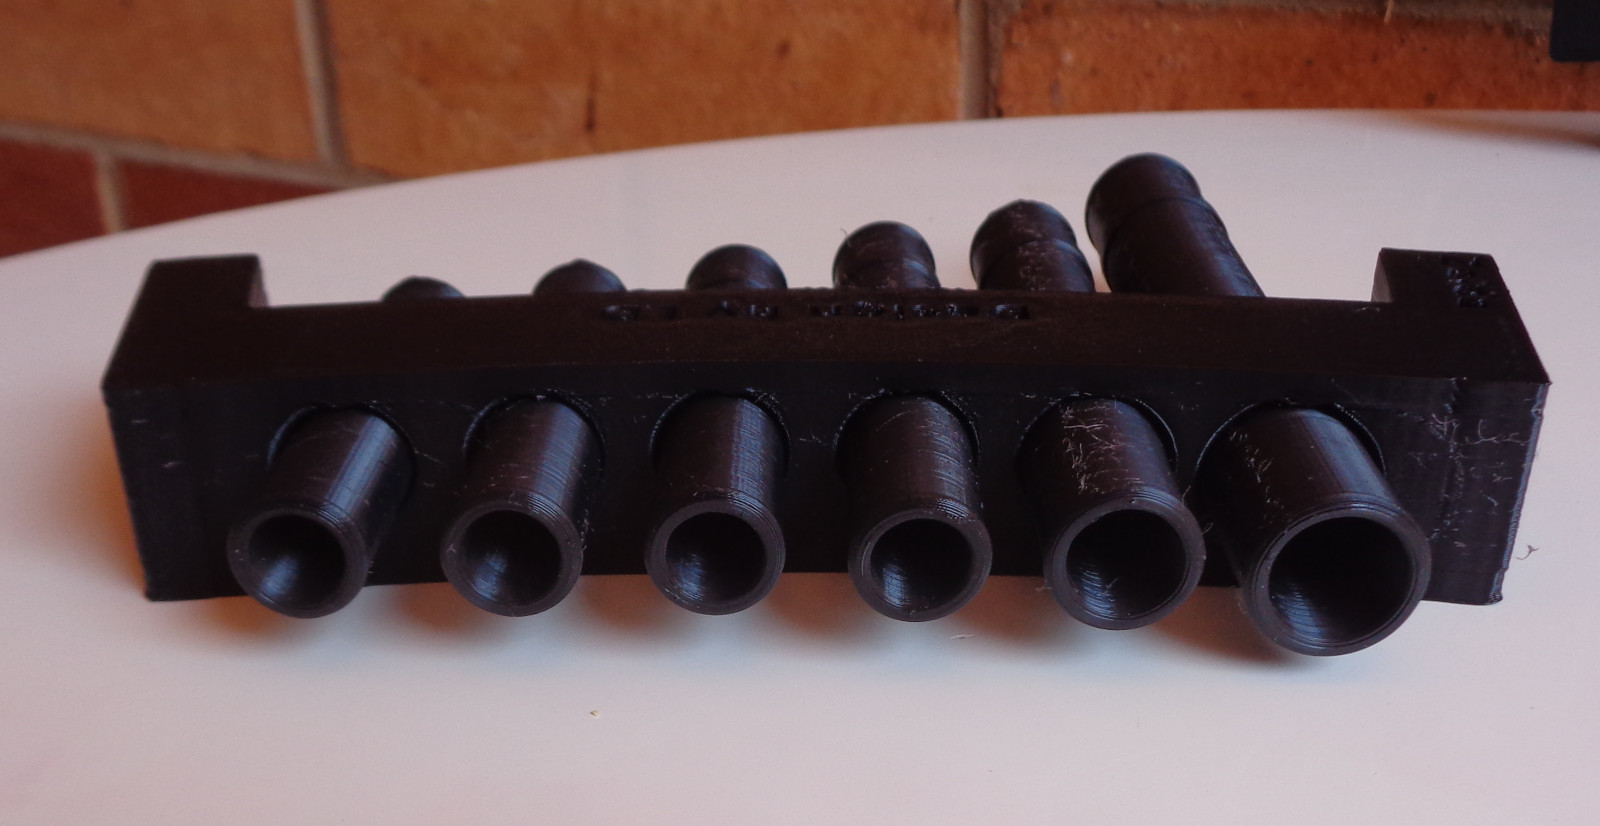
The model tries to make pipes of the ideal dimensions for a pan flute as per the [Wikipedia page](https://en.wikipedia.org/wiki/Pan_flute), however to improve playability bores are clamped to between 10 and 14mm.
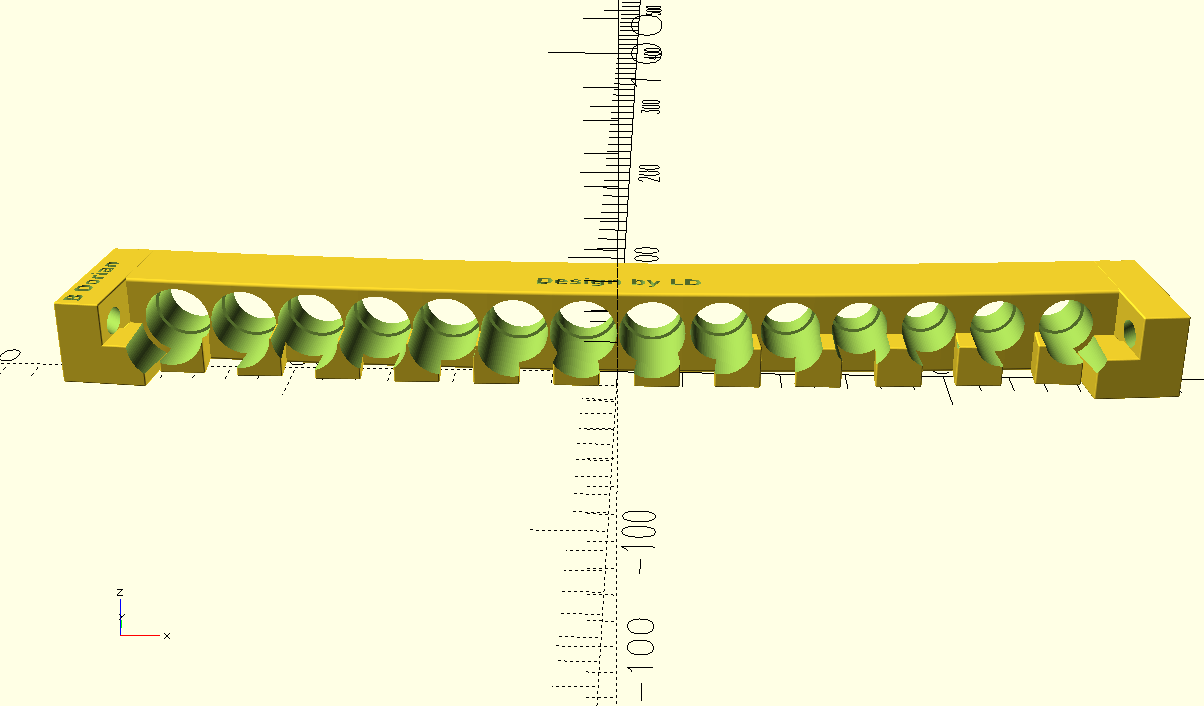
The provided STLs are quite high resolution and tuned to a B Dorian mode without the 2nd note (C#) as documented at [fandom](https://zelda.fandom.com/wiki/Spirit_Flute), though as an extension to the information there my STLs are tuned as a spirit flute should be in [Just Intonation](https://en.wikipedia.org/wiki/Just_intonation) rather than [Twelve Tone Equal Temperament](https://en.wikipedia.org/wiki/12_equal_temperament). This means the notes are tuned slightly differently to a piano or guitar etc.
With some technical knowledge you can produce versions with any notes you like, tuned however you want by using the provided CAD model, all calculations including tuning are done to 15 decimal places. Layer height will change things very slightly, with <= 0.1mm providing more accurate tuning than >= 0.1mm, though these differences will be tiny. The cog from the 2 octave B Dorian flute pictured and included in the CAD model can be printed in one piece diagonally on a 320*320 bed. Large flutes are built from many STL files, take a long time to make, and are very challenging to print. I shan’t provide STLs.
The CAD model will stay Zelda's Spirit Flute- I won't be extending into a more generic pan flute builder because I don't want people who don't care about licensing making money from my work. It's a demo.
I will fix important bugs if they get reported.
If there are no decent pics here of versions fully painted up or multicolour printed and you'd like to send me one, please do. I studied music and computer science, and have focussed on functional printing and CAD. Priming and painting models is something I'm not so interested in, and I don't have an AMS.
To date they've been successfully printed in PLA and PETG.
If the tuning sounds wrong: first of all keep in mind Just Intonation notes are slightly different to the notes on a piano. Wikipedia notes the tuning can be slightly changed by dropping small objects like corn grains or pebbles in a pipe. It also notes the tuning changes slightly with local air pressure. The actual pitch produced by a pipe seems to vary a bit with how hard they're blown and the angle the air hits the pipe at. Experiment and practice.
Calibrating the Printer
It can be a challenging print. You'll need at least retraction and support gap calibrated, but the more you do the better. It requires assembly, but I've allowed larger tolerances than I need. It's worth noting Orca Slicer has a calibration menu that builds calibration tests for you, get it [here](https://orcaslicer.com/). Orca’s scarf seams with the calibration linked to below improves everything about the print.
Useful links are
* http://retractioncalibration.com
* https://teachingtechyt.github.io/calibration.html
* https://www.printables.com/model/783313-better-seams-an-orca-slicer-guide-to-using-scarf-s
Printing the Cog
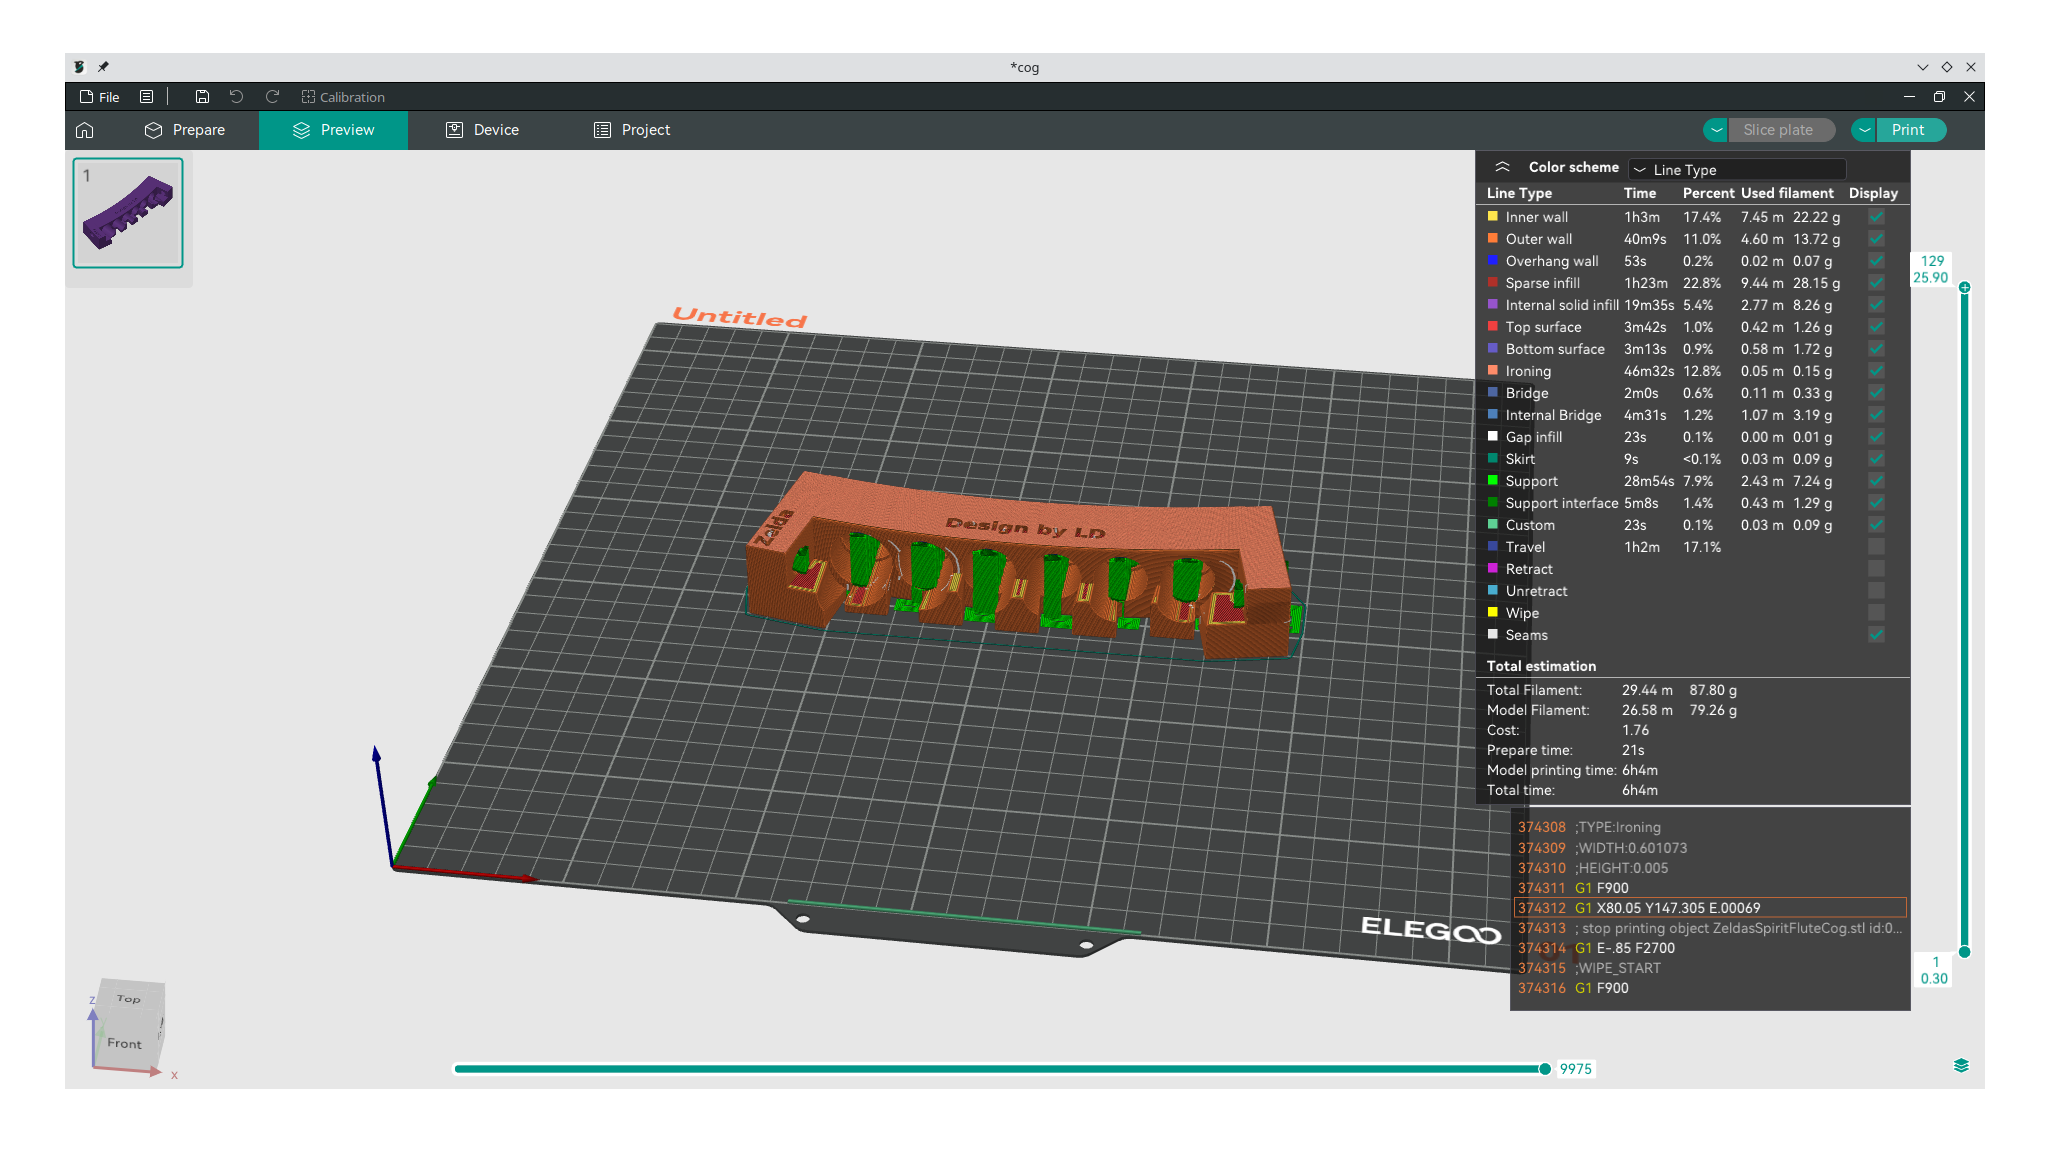
I print it with the text facing up. It needs supports, and not just touching the build plate. You'll have to remove supports from inside the holes, I use a top and bottom support z gap of 0.3mm but this is printer and filament dependent. Bits of support left inside the cog can make assembly impossible or very difficult. I use several wall loops, a decently thick top and bottom, and support cubic infill at around 60% in Orca slicer. Ironing vastly improves the top surface quality and was used in the photos.
Printing the Pipes
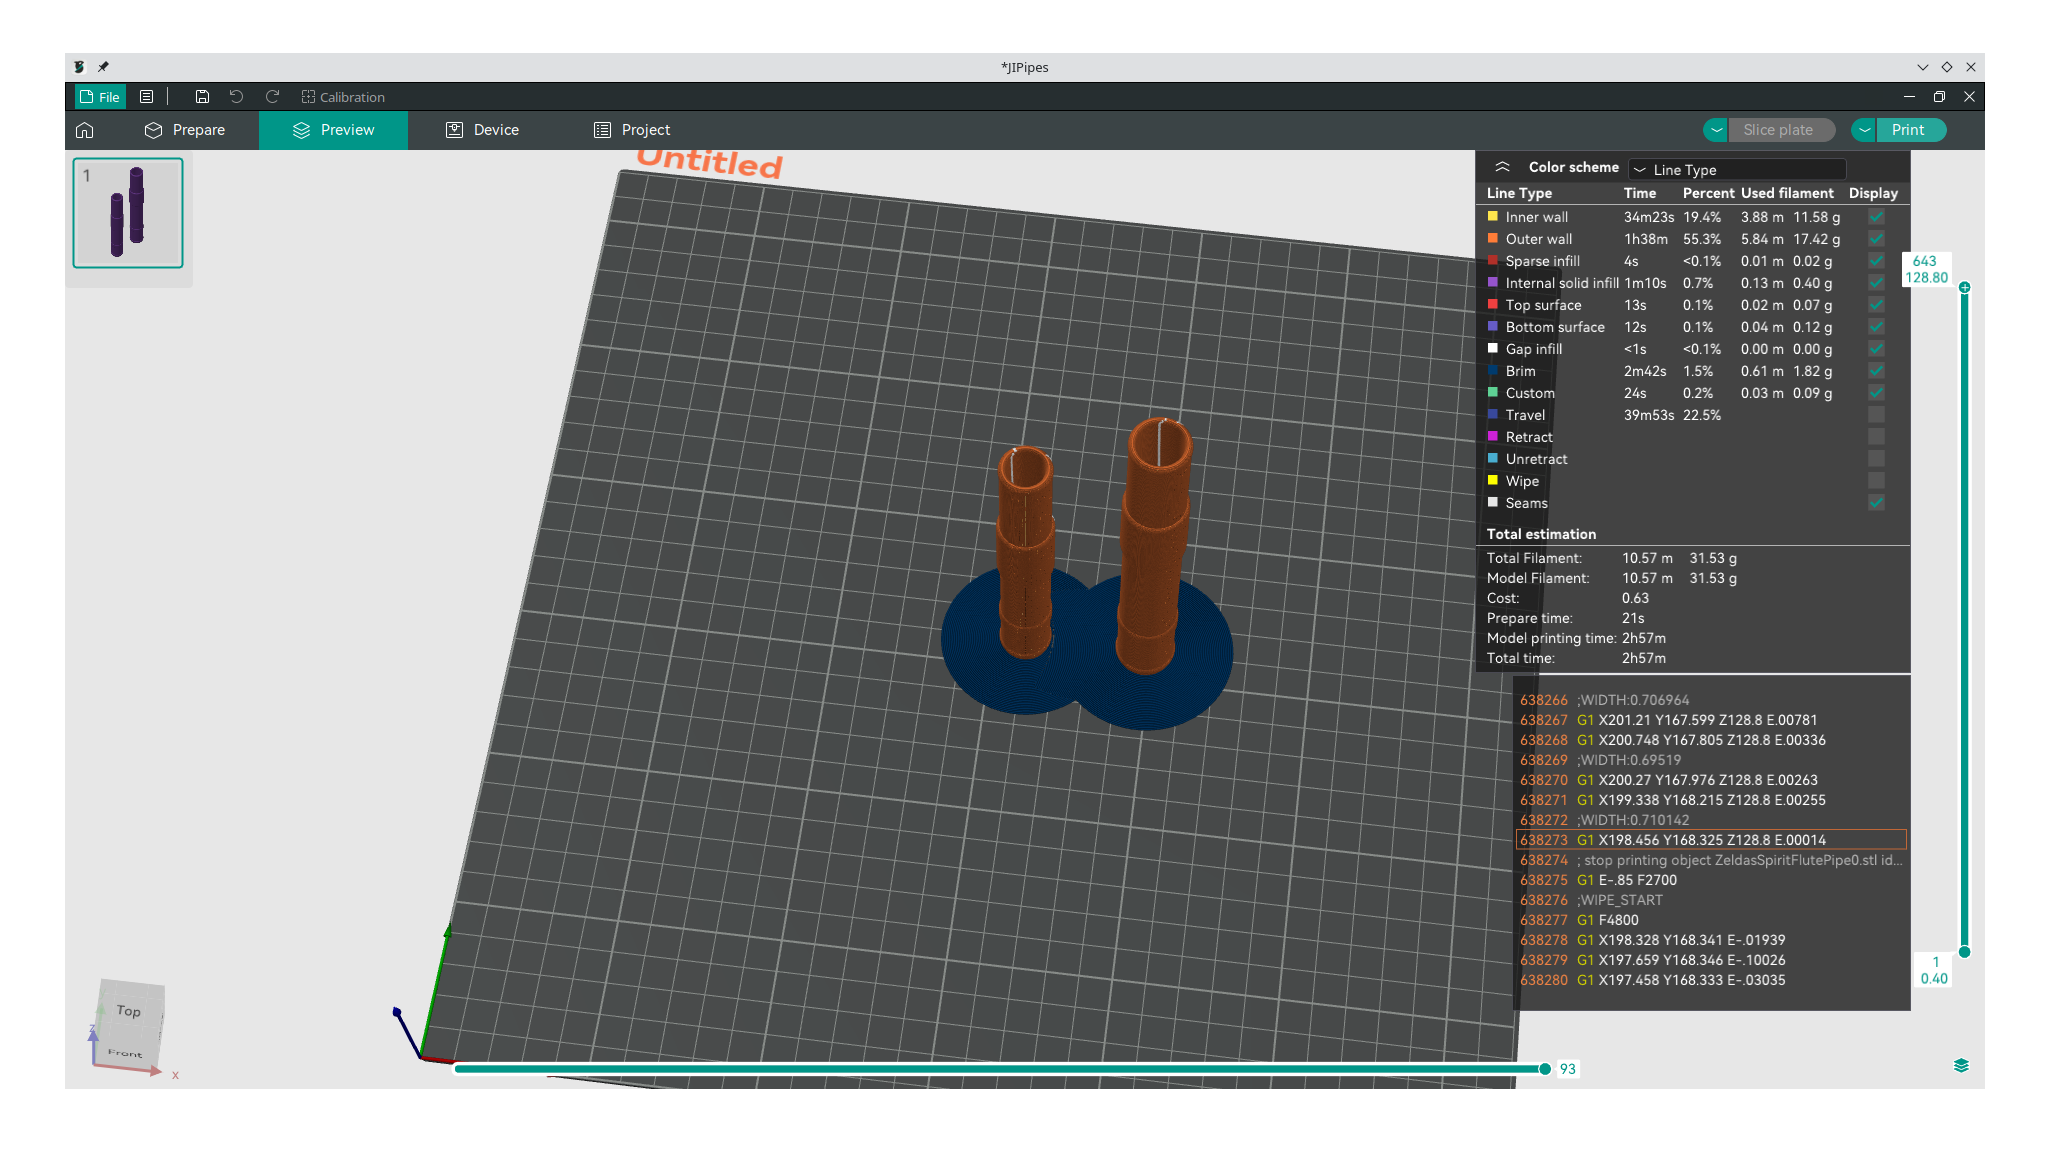
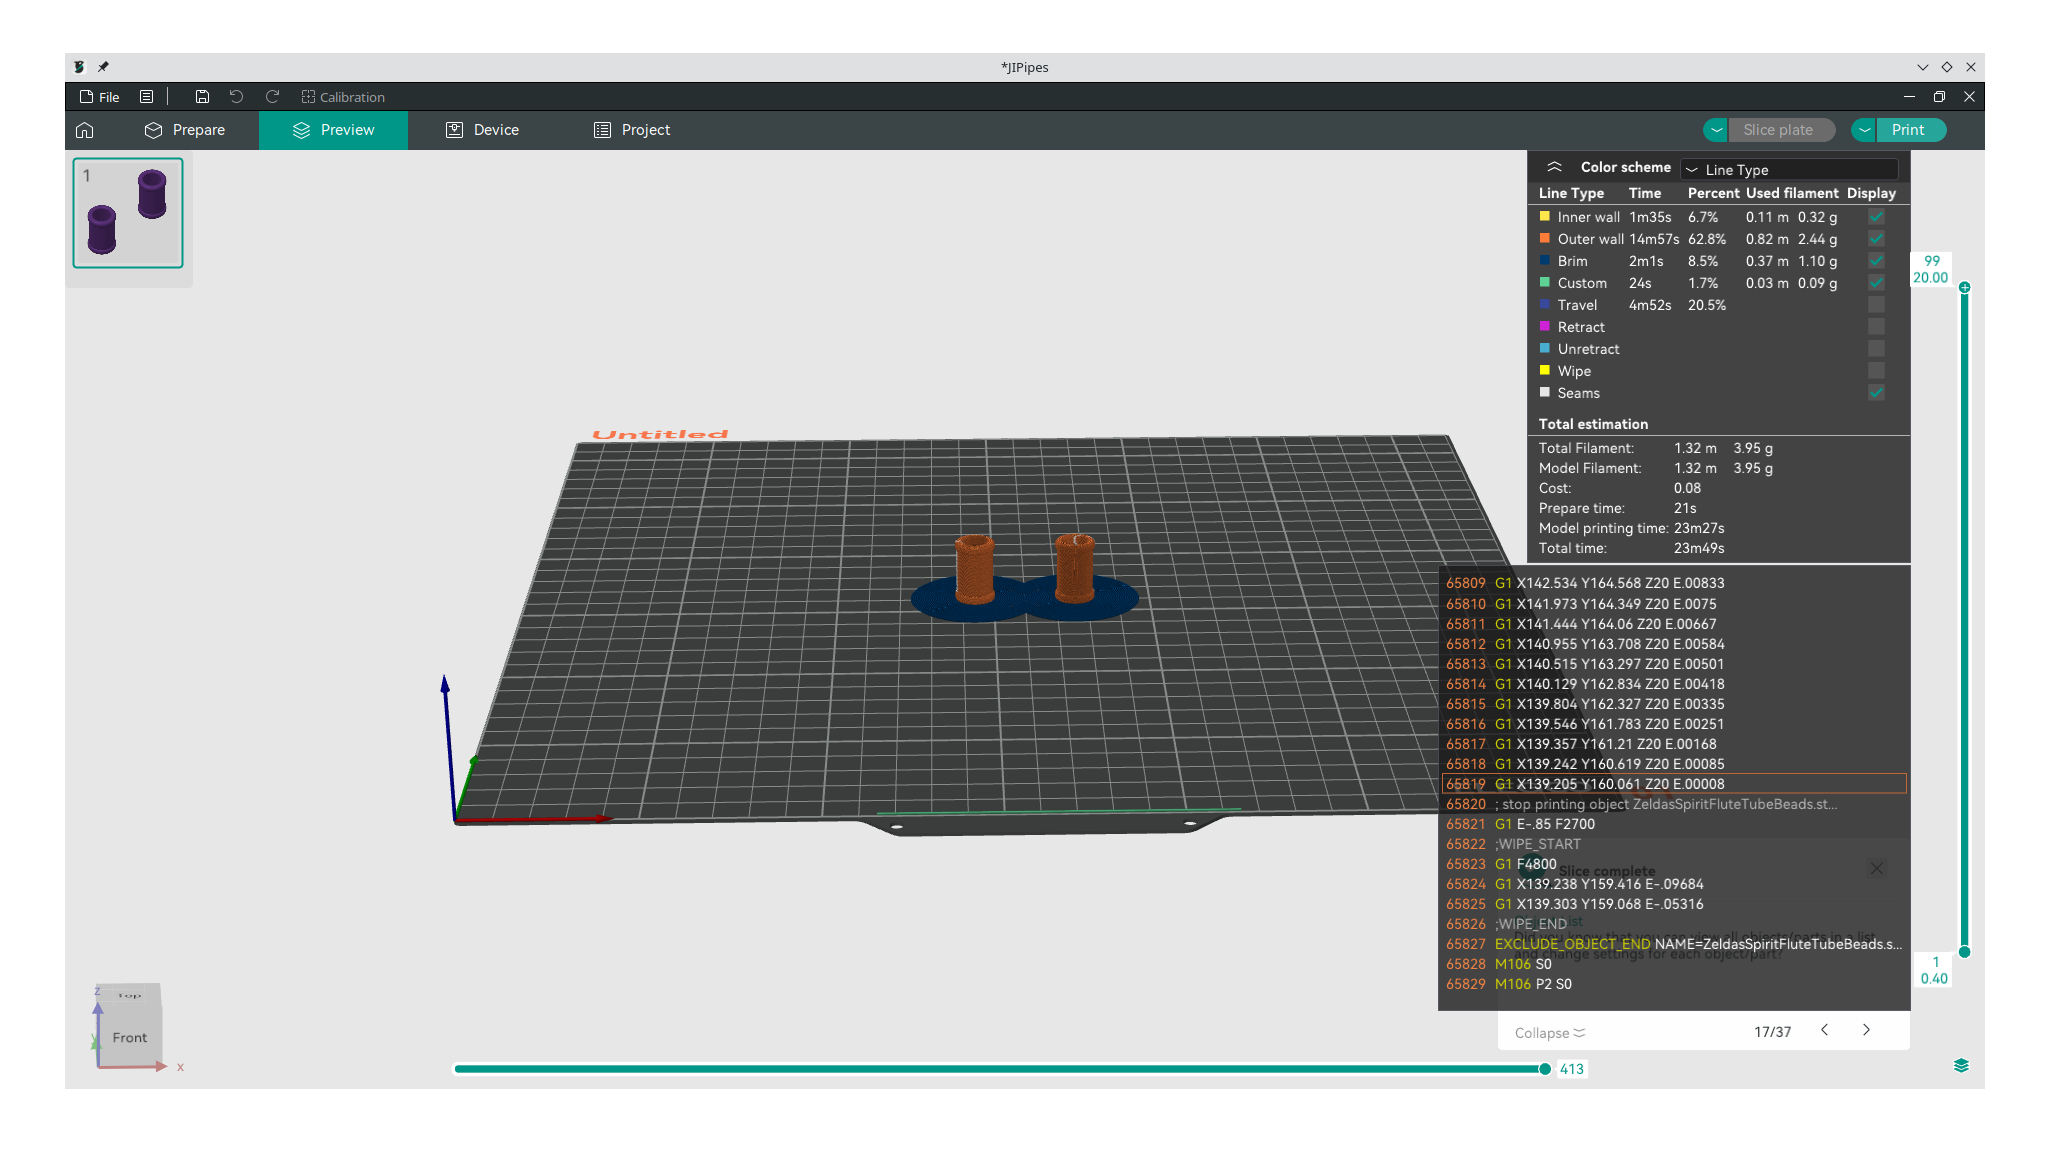
Go slow and reduce acceleration. The flatter you can get your bed the better, independent of a probe. Tall pipes can be particularly hard. About 1/3 of my normal speed works for me, but your mileage may vary. You want enough wall loops and top and bottom layers for the pipes to be solid plastic. Filament with poor bed adhesion simply won't work. You need a level, clean bed, and dry filament. Use a thick and hot first layer with a wide brim (20mm is good). Calibrated retraction/pressure advance/linear advance is very important as excessive stringing can cause pipes to be knocked over. If having trouble print them one at a time.
Printing the Beads
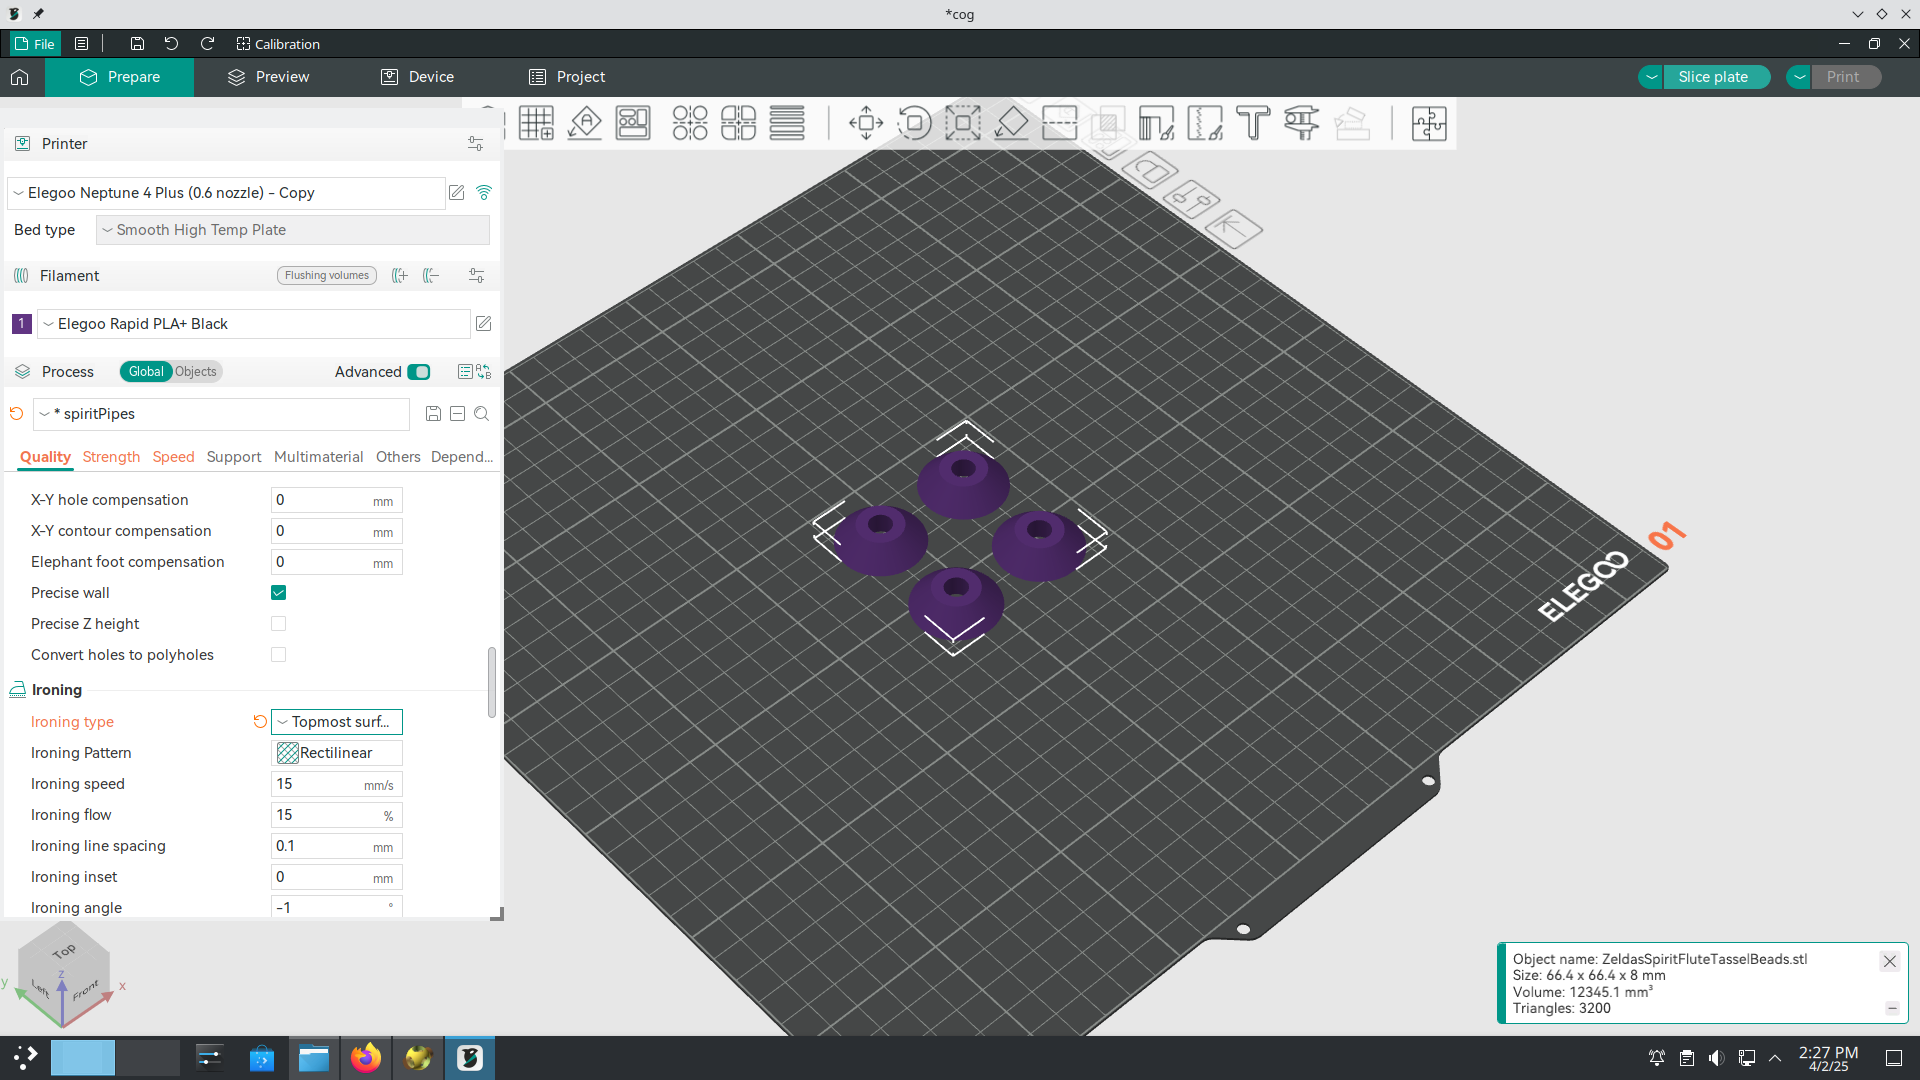
The tube beads need a brim, print them like a short and narrow pipe. The tassel beads have plenty of bed contact and are easy.
Assembling the Flute
I use a heat gun to reduce traces of supports, brims, and any wispy strings prior to assembly. Then there is a thick ridge near the open end of each pipe, I put a little gel superglue around the top of the ridge. Insert the open end of the pipes through the holes in the cog, from the underside with the teeth. There is a ridge inside each hole the ridge on each pipe bumps against. Look at the provided pictures. Ensure the pipes are straight before the glue sets. If unsure of the ordering of the pipes, the longer pipes are lower notes, though you can also put them in order by playing each pipe and listening to the note it makes. The tassel beads are modeled in halves which should be glued together.

💬 Discussion 0 comments